Sunday, October 27, 2013

MEMORETTE PROGRESS

The Memorette prototype is nearing completion, thanks to an impending deadline for a group show at the a.Muse Gallery in the San Francisco Mission District. I will be showing the Memorette player along with three cassettes:

God Side of the Coin, with music by Adam LaClave and film by myself 

Maddening of Desire, with music and film by Genessa Kealoha

Agoraphobia, with music and film by Genessa Kealoha

Each cassette will be displayed along side a 2D piece of art related to the cassette. Both of Genessa Kealoha's pieces will be the paintings used to create the time lapse animations for the films.

The Memorette player prototype is nearly finished. I am currently working with August Black on fine tuning the Arduino programming to make the machine run smoothly and yield the highest possible picture quality. 


Monday, May 7, 2012

Flat Pack Furniture

Like most designers, as a kid I was obsessed with Lego, Construx, Capsela, and pretty much any other building toy I could get my hands on. Aside from all the lessons about spatial and mechanical reasoning these toys were intended to teach, a love of modular interchangeable parts also stayed with me. 


The male / female connections of these toys were the most celebrated feature of the form of each part. The little raised cylinders on top of the lego block brazenly beg to be connected, built upon, and to aggregate. 


In the age of the iPhone, the impenetrable object is irresistible and striking, but pure form cannot help but disconnect the user from the process, materiality, and true nature of the object. Here's a great article on that subject: http://supercolossal.ch/2011/07/11/megaexterior/

The Flat Pack furniture I've been making over the past year is a study in mass-customization, affordable design, CNC tooling, the principal of affordance, minimal material usage, and an aesthetic effect that celebrates all of the above. 

The furniture is all made from 3/4" birch plywood and 3/4" galvanized pipe and fittings that can be found at Home Depot.

The design of each piece can be called reflexive: I start with the basic design parameters such as comfortable desk height, practical drawer dimensions, etc. and design a generic piece in 3D. This piece is then laid out in relation to a sheet of virtual plywood. It then becomes apparent that certain elements have to be re-designed to fit within the sheet to minimize waste. The elements are then re-designed in relation to the whole, and back and forth, until the design is complete- hopefully giving equal weight to the design and the fabrication in the end.

Dinner Table: All plywood with tab-and-slot joints. Each square edged joint has a half-circle leading out; this is the diameter of the router bit. Allowing the tool to "color outside the lines" makes for faster assembly, less post-processing (i.e. chiseling out a rounded edge), and indexes the process of the object's making. I would argue that this is an "honest" joint.


Desk: More of the same kind of joinery using galvanized steel legs. The trough in the back is useful for computer peripherals, cables, etc. This layout makes for even less material waste.


Coffee Table: A simpler project that came as a result of not wasting some remaining plywood. 4 pipe clamps and galvanized pipes make up the legs and fasters that complete the piece. Assembly takes about 5 minutes and the finished product is incredibly rigid and practical. Having not taken the time to properly measure the clamp fittings before designing, the CNC cut pockets aren't dimensioned to fit precisely. On then next iteration, I plan to simply place the parts on a flat-bed scanner and trace the images as supplement to measurements.


Tuesday, February 15, 2011

MEMORETTE CONTINUED

Out of necessity, I went more in depth on representing this project, since I'm leaving my life in Wine Country to seek a more stimulating (and more urban) environment. Though a portfolio usually seems like a chore, I'm always surprised by how much you learn about a project or idea when you're forced to describe it to someone. Hopefully this post makes the project more coherent, I know it does for me.


Friday, September 3, 2010

MEMORETTE


"Technology is therefore no mere means. Technology is a way of revealing. If we give heed to this, then another whole realm for the essence of technology will open itself up to us. It is the realm of revealing, i.e., of truth" - Martin Heidegger

Video art in a gallery, when projected on a wall, is totally out of context in this day in age. The art gallery exists mainly as a showcase to connect collectors and artists; as a venue that presents new work to those who might appreciate it and pay the artist for their blood, sweat and tears. Video art, devoid of a space-specific installation, may as well be viewed on Youtube. It lacks the object-specificity of the canvas or the sculpture and therefore becomes less precious by its very nature.

Media has lost its object-ness. We stare endlessly at glowing rectangles that instantly and endlessly change. Your sweetheart's "I love you" text becomes some dumb teenager being kicked in the crotch three seconds later.

A visceral connection to a tangible object bridges the gap between what we are and what we do.

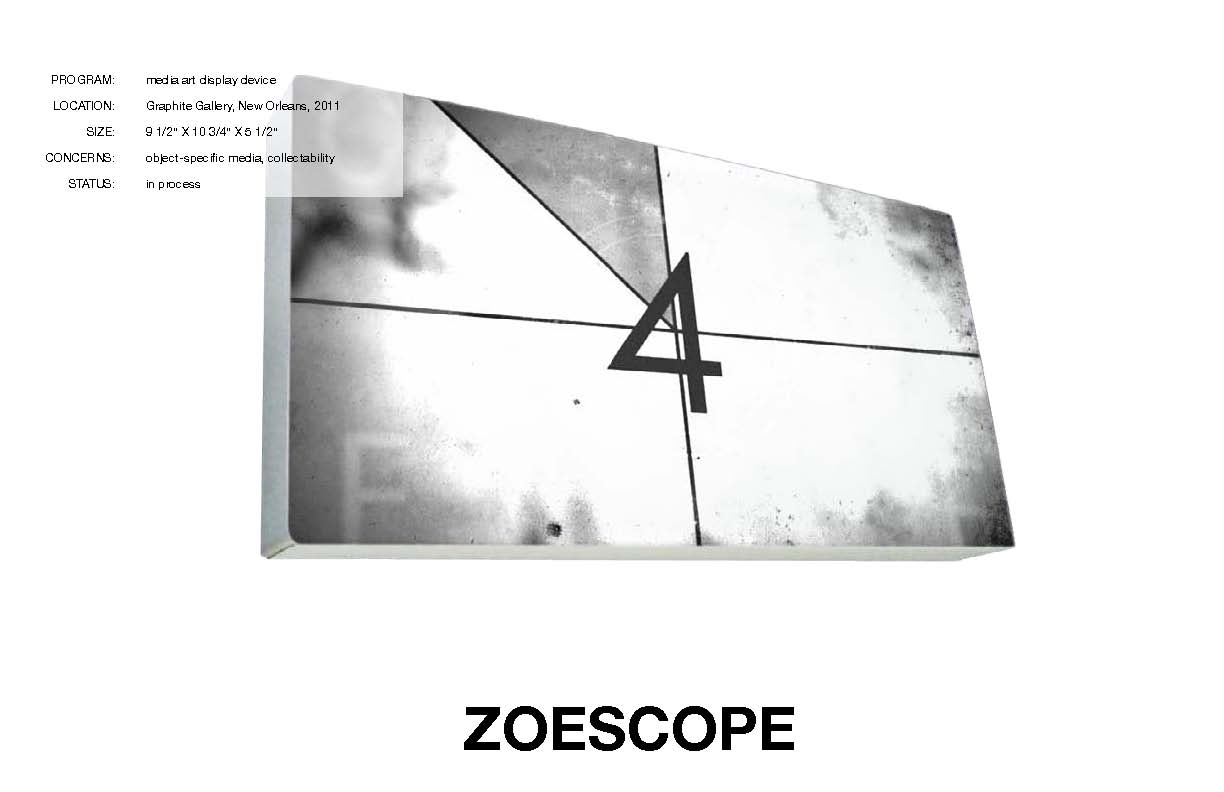
This project comes from this argument (or the argument comes from the project). Video is a medium with which I feel comfortable as an artist, by which I mean I feel capable of producing work through it that I believe is worth showing, that I'm proud of. So how does one practically bridge the phenomenological gap and connect the art to the viewer?

When art is not preformed, it should be carefully and preciously packaged to give it a singular physical manifestation.

My solution is a proprietary device, capable only of presenting my work (or work that I choose to transpose to the format of my invention).


Saturday, February 20, 2010

Panelized Punk

A friend and I decided to be Daft Punk for Halloween 2009. Not having the time to sculpt and mold helmets or access to a vacuum former, it seemed the best way to execute a complex form like a helmet would be to build a polygonal model in Maya, make a flattened layout of the pieces in Pepakura, and assemble the parts by hand using super glue.


Step 1: Maya Model


Step 2: Pepakura layout


Step 3: Cutting and seaming

I did a poor job of documenting these steps. I had the layouts laser cut at CCA in San Francisco for about $15 each. They could have been cut by hand with an exacto knife, but as you can image that would have been really time consuming. The red lines in the layouts are for valley folds and the blue are for mountain folds. The chip board material used made it easy to bend the scores in either direction without too much trouble. It dawned on me after making these layouts that the visors would be much easier to make and much more realistic if I just traced splines between the points on the polygon model, and cut out curved strips to be seamed together later with transparent model glue.


Saturday, June 27, 2009

Intimate Landscapes


SCI-Arc: Yael Reisner workshop, 2007

Life is not a problem to be solved, but a reality to be experienced. - Søren Keirkegaard